
How to Insulate a Loft Hatch Properly
You can have plenty of loft insulation in place and still feel a cold draught beneath the hatch. That is usually the weak point. If you are wondering how to insulate a loft hatch, the aim is simple - stop warm air escaping through the opening, reduce draughts around the edges, and make sure the hatch still works safely and closes neatly.
For many UK homes, the loft hatch is an overlooked source of heat loss. It sits between a warm landing and a much colder loft space, so even a small gap can make a noticeable difference. If the hatch is thin, uninsulated or badly fitted, your heating system has to work harder than it should.
Why loft hatch insulation matters
A loft hatch is often treated like an afterthought, especially in older properties. The loft itself may have had insulation topped up over the years, but the hatch cover and frame are left as they were. That creates a break in the insulation layer right where warm air naturally rises.
The result is not always dramatic, but it is real. You may notice the landing feels colder than the rest of the first floor. You may see slight condensation around the hatch in winter. In some homes, the area directly below the loft opening can feel noticeably draughty. Sealing and insulating the hatch helps keep temperatures more even and supports the performance of the rest of your loft insulation.
It is also one of those improvements that works best when it is done properly. Too little insulation and the benefit is limited. Too much bulk in the wrong place and the hatch may not shut correctly. The right approach depends on the type of hatch you have.
How to insulate a loft hatch: start with the hatch type
Before doing anything else, check what kind of loft hatch is fitted. A simple drop-down timber panel needs a slightly different approach from a hinged hatch or a loft hatch with an integrated ladder. The principle stays the same, but the fitting method changes.
If you have a basic push-up or lift-out hatch, there is usually space to add rigid insulation board to the top side of the hatch itself. If it is hinged, you need to make sure any added insulation does not affect the closing action. If there is a ladder attached, weight matters more because the hatch must still open and close safely.
This is where a lot of DIY attempts go wrong. People focus only on the cover and ignore the frame, or they use a thick offcut that stops the hatch sitting flush. A loft hatch needs both insulation and an effective seal.
The two parts of the job: insulating and draught-proofing
Insulating a loft hatch is only half the answer. You also need to deal with air leakage around the frame. Heat loss happens through the hatch material itself, but warm air can also escape through gaps around the edges.
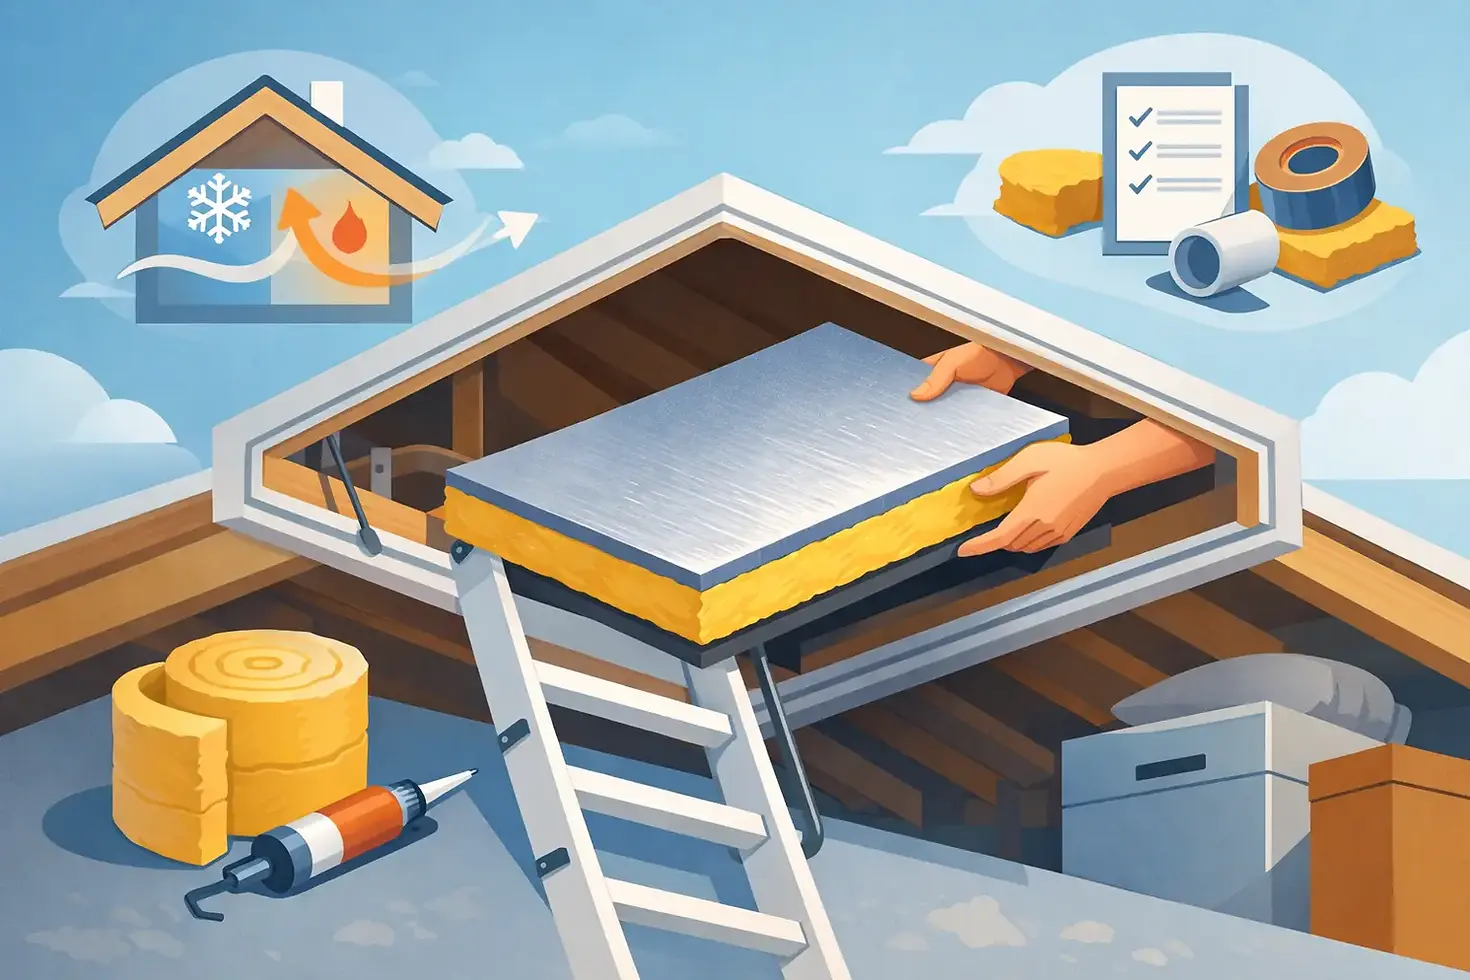
The hatch cover is usually improved by fixing insulation to the loft-facing side. Rigid insulation board is often the neatest option because it gives good thermal performance without too much thickness. Foil-backed insulation can also work well, especially where space is tight. Soft mineral wool is less ideal on the hatch itself because it can shift, snag or compress over time.
Around the frame, compressible draught-proof strips are normally the best solution. These help create a snug seal when the hatch closes. If the hatch is warped or the frame is uneven, the seal may be patchy, and that limits the result. In those cases, replacing the hatch can be the better long-term fix.
What a good loft hatch installation looks like
A properly insulated loft hatch should close flush, feel secure, and show no obvious daylight or gaps around the perimeter. It should be easy to open when needed, but not loose enough to rattle or leak warm air.
Ideally, the hatch should sit within a well-fitted frame, have insulation fixed cleanly to the upper side, and include draught sealing around the edges. If the surrounding loft insulation has been laid right up to the opening, that helps too. The hatch should not become the one thin, cold patch in an otherwise insulated ceiling.
In newer upgrades, many homeowners choose to replace an old hatch altogether. A modern loft hatch can give a tighter fit, a cleaner finish, and better compatibility with added insulation or a loft ladder. That can make more sense than trying to improve a very old or poorly fitting panel.
Common mistakes to avoid
One common mistake is making the hatch too heavy. This is especially relevant if you add dense board to an older timber panel or a hatch with hinges that are already under strain. If the hatch becomes awkward to handle, it is less practical and may eventually sag.
Another issue is blocking ventilation where it is still needed. Your loft space should be insulated, but it should also remain properly ventilated to help manage moisture. Insulating the hatch should not mean stuffing materials into gaps in a way that interferes with the loft's designed airflow.
Poor adhesive choice can also cause problems. In cold loft conditions, some glues fail over time, especially if surfaces are dusty or uneven. Mechanical fixing or suitable insulation adhesive is usually more reliable than a quick stick-on approach.
There is also the question of fire safety and access. The hatch must still allow safe entry to the loft when required, and any upgrade should not compromise the function of the opening. If your hatch is part of a route used regularly for storage access, durability matters as much as insulation value.
When DIY is realistic and when it is not
If your loft hatch is straightforward, easy to reach, and already in reasonable condition, adding insulation board and draught seals can be a manageable DIY job. It is often one of the more accessible energy-efficiency improvements in the home.
That said, it is not always as simple as it first appears. If the frame is uneven, the hatch is damaged, the opening is awkwardly sized, or a ladder is involved, the job becomes more technical. In some homes, the best result comes from replacing the hatch and frame together rather than trying to patch up what is there.
This matters even more if you are upgrading the loft as a whole. New loft insulation, loft boarding, raised storage platforms and hatch improvements all need to work together. A poorly fitted hatch can undermine the benefits of the rest of the installation.
Should you replace the hatch instead?
Sometimes the honest answer is yes. If the hatch is badly warped, unsealed, flimsy or difficult to use, insulation alone may not solve the problem. Replacing it can give you a more secure fit, better insulation potential and easier access.
A new hatch is also worth considering if you want a loft ladder installed. Combining both jobs usually gives a neater result and avoids paying twice for related work. For homeowners who use the loft for storage, that can improve convenience as well as energy efficiency.
At Nest Home Improvements, this is often where practical advice makes the difference. Rather than adding bits to an old setup and hoping for the best, it can be more cost-effective to install a properly fitted hatch that helps reduce heat loss and gives you easier, safer loft access at the same time.
Signs your loft hatch needs attention
You do not need specialist equipment to spot a problem hatch. If the area below it feels colder than the rest of the landing, that is a clue. If you can see gaps around the edge, feel a draught on windy days, or notice slight staining or condensation nearby, the seal may be poor.
You may also find the hatch cover itself feels very cold to the touch in winter. That usually suggests there is little or no insulation above it. In an older property, that is quite common.
Even if the issue seems minor, improving the hatch can help support comfort in the parts of the house you use every day. It is not the biggest insulation job in the home, but it is often one of the more obvious weak spots.
A small upgrade that supports a warmer home
The best approach to how to insulate a loft hatch is the one that balances thermal performance, draught reduction and safe day-to-day use. For some homes, that means adding insulation and seals to the existing hatch. For others, replacing the hatch is the smarter option.
Either way, the goal is the same: less wasted heat, fewer draughts, and a home that feels warmer and more comfortable upstairs. When small gaps and cold spots are dealt with properly, the whole house tends to feel better for it.


Comments